IntroductionWhen you want to create a BPEL process to run in Petals, you must first create a BPEL Sketch project.
|
Creating a new empty BPEL process
In the menu, select File > New > Sketch Project.
If you do not see it, go into File > New > Other... Then, select Sketch Project under the Petals category.
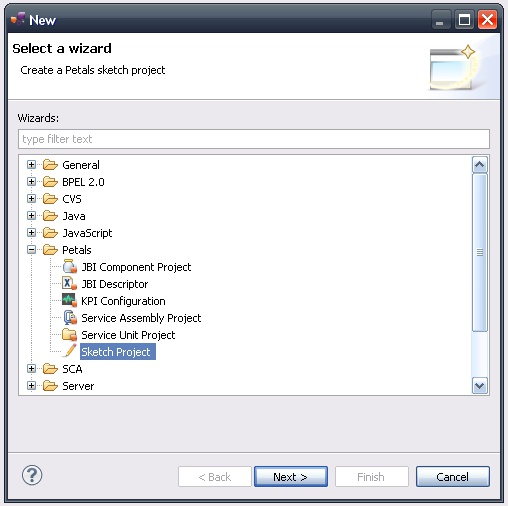
A wizard opens, showing three drop-down lists.
In the Use Case combo, select Use a Petals technical service.
In the Petals Component combo, select BPEL // petals-se-bpel.
In the Component Version combo, select the version of the Petals-SE-BPEL that you are using in Petals.
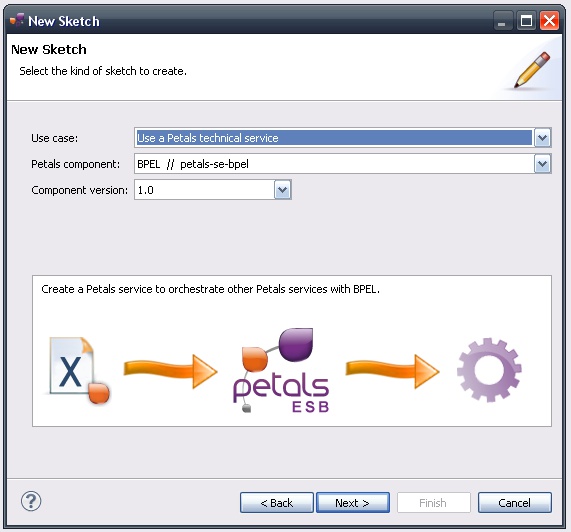
In the scope of this page, we will use the version 1.0 of the component.
Click Next.
On the next page, select Create a new BPEL process.
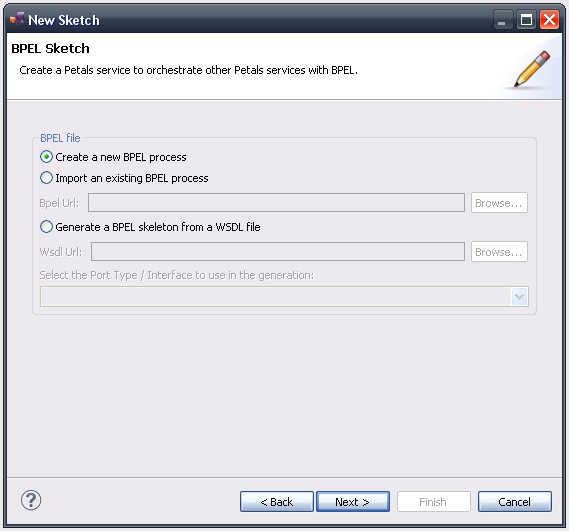
Click Next.
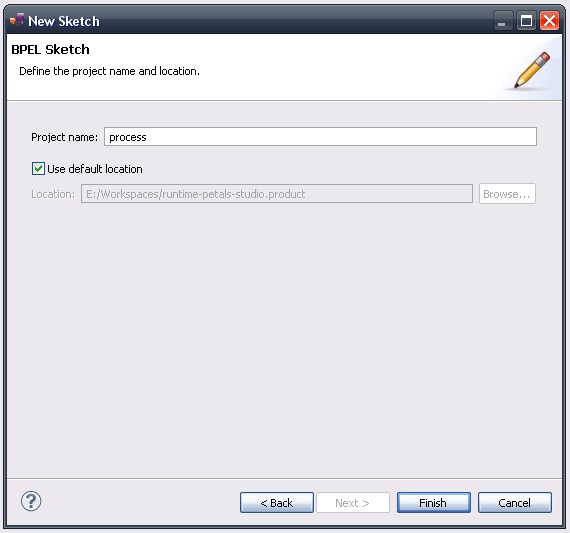
The next page expects the project name.
This name will also act as the process name.
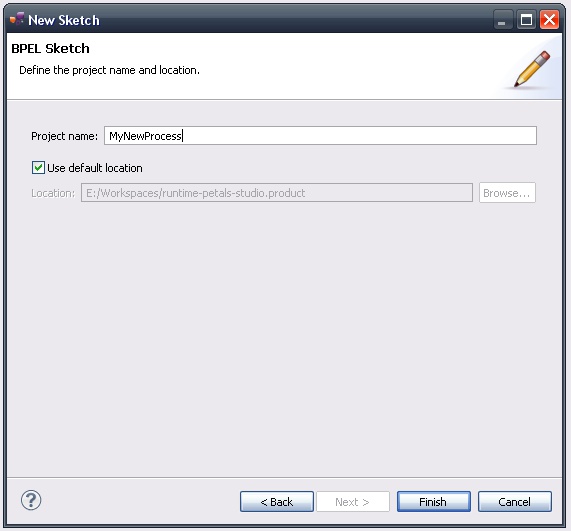
Click Finish.
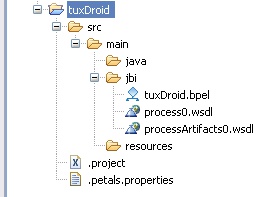
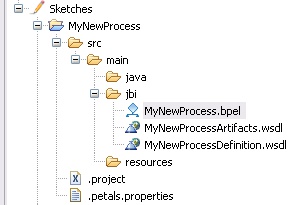
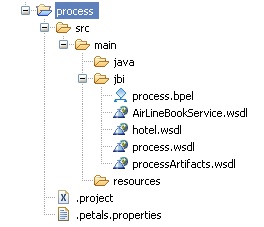
The sketch project is created.
It contains a basic BPEL process...
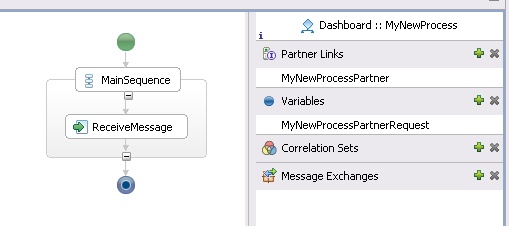
... with a WSDL definition and an Artifacts WSDL.
Starting from an existing BPEL
In the menu, select File > New > Sketch Project.
If you do not see it, go into File > New > Other... Then, select Sketch Project under the Petals category.
A wizard opens, showing three drop-down lists.
In the Use Case list, select Use a Petals technical service.
In the Petals Component list, select BPEL // petals-se-bpel.
In the Component Version list, select the version of the Petals-SE-BPEL that you are using in Petals.
In the scope of this page, we will use the version 1.0 of the component.
Click Next.
On the next page, select Import an existing BPEL process.
Indicate the BPEL URL, or use the Browse... button to select the BPEL file on the local disk.
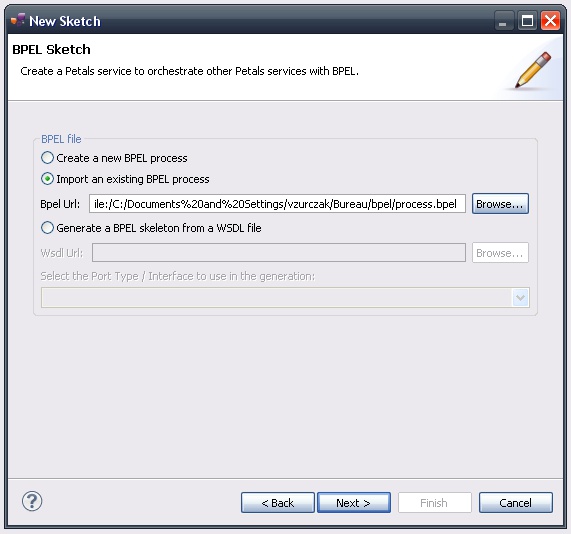
Click Next.
The next page expects the project name.
This name will also act as the process name.
By default, it is filled-in with the name of the imported process.
Click Finish.
The sketch project is created.
It contains the imported BPEL process...

... with its resources.
Generating a BPEL from a WSDL definition
In the menu, select File > New > Sketch Project.
If you do not see it, go into File > New > Other... Then, select Sketch Project under the Petals category.
A wizard opens, showing three drop-down lists.
In the Use Case list, select Use a Petals technical service.
In the Petals Component list, select BPEL // petals-se-bpel.
In the Component Version list, select the version of the Petals-SE-BPEL that you are using in Petals.
In the scope of this page, we will use the version 1.0 of the component.
Click Next.
On the next page, select Generate a BPEL skeleton from a BPEL file.
Indicate the WSDL URL, or use the Browse... button to select the WSDL file on the local disk.
Once this is done, you can select the Port Type that will be used as describing the BPEL service.
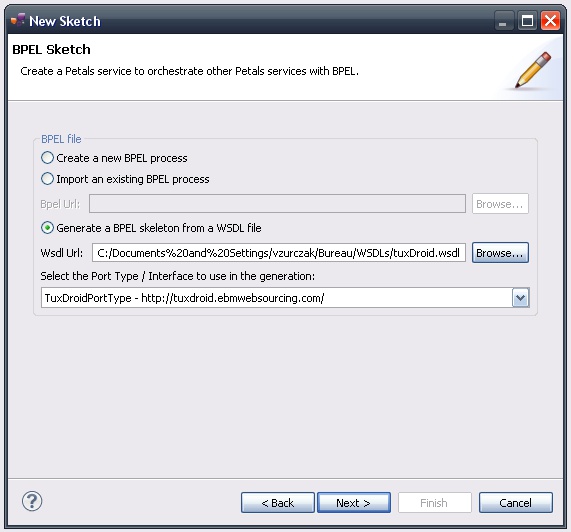
Click Next.
The next page expects the project name.
This name will also act as the process name.
By default, it is generated from the WSDL name.
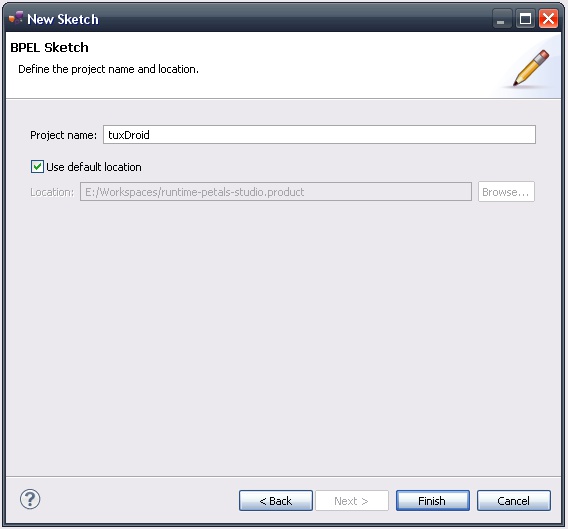
Click Finish.
The sketch project is created.
It contains a BPEL process that was generated from the WSDL definition...
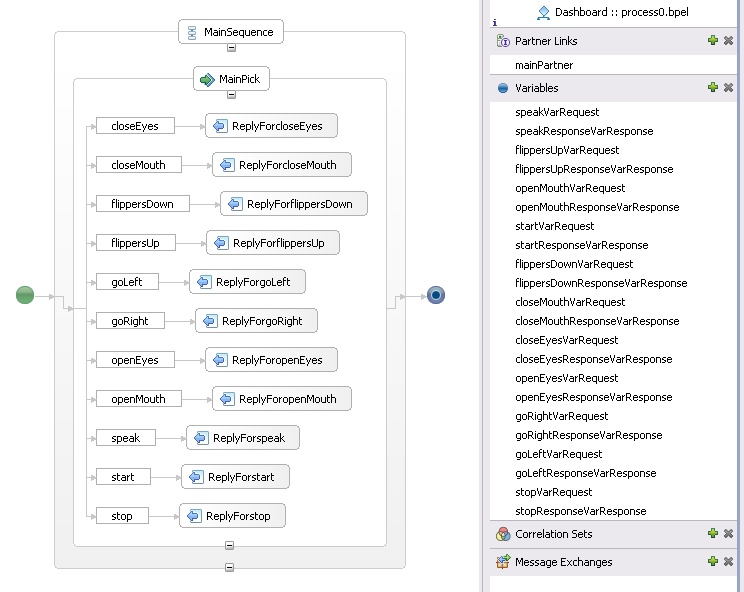
| The process on this last picture may seem unusual. In fact, the WSDL definition contains a lot of operations. To make it readable, the BPEL designer switched to the horizontal layout. |
... with the imported WSDL definition and an Artifacts WSDL.