The most famous implementation of EIP is Apache Camel. It allows to define routes and facilitates the use of EIP.
At the time Camel was created, Petals developed its own EIP implementation, in a JBI component for EIP. This component is very efficient and robust, but however supports less patterns than Camel. Due to different objectives, Petals EIP remained in the scope of Petals.
To create an EIP chain to run in Petals, you can either create a service-unit project for the EIP component or create an EIP croquis.
The first approach is deprecated and will not be discussed here. The creation of a croquis for EIP is explained below.
Creating an EIP croquis
To create an EIP croquis, select File > New > Petals > Croquis.

Select the croquis type and choose EIP chain.
Type in the file name and the croquis title.
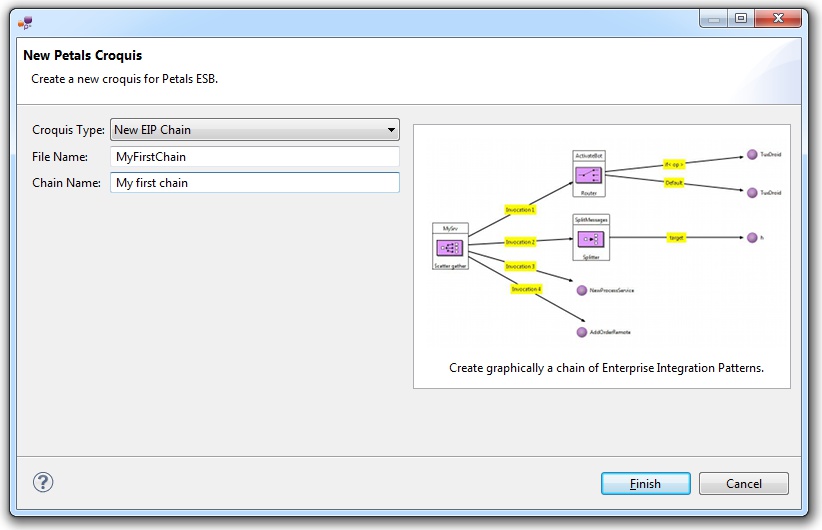
Click Finish.
It results in an EIP diagram (a peip file), open in the default editor.
Editing an EIP diagram
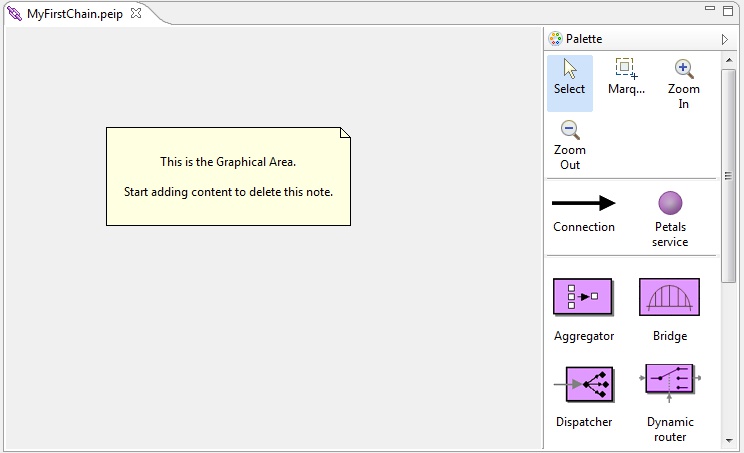
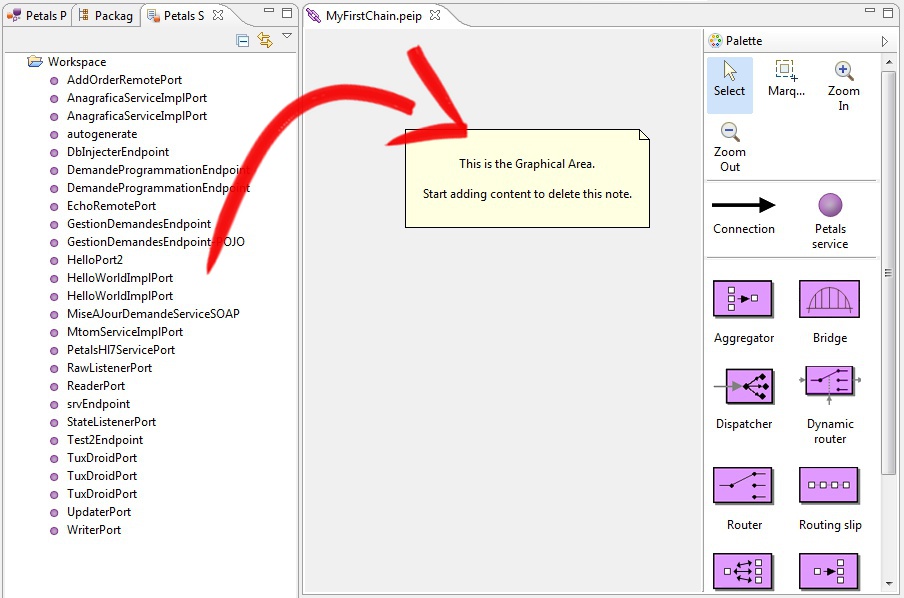
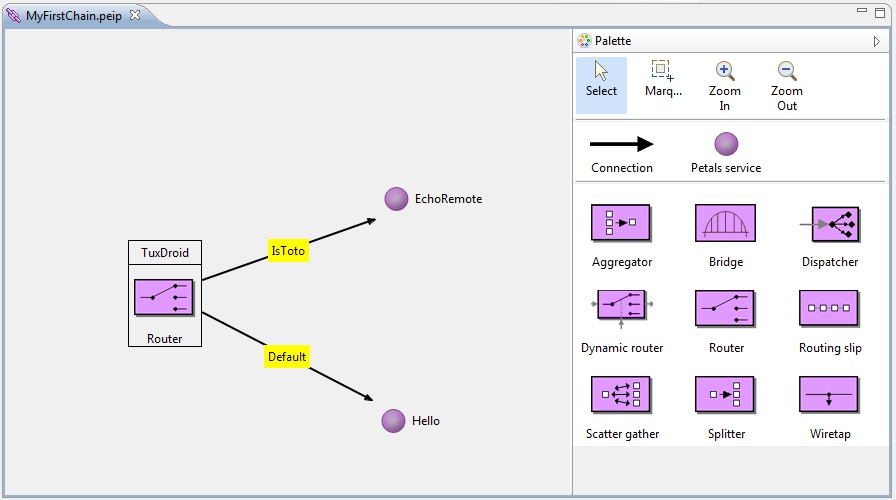
The editor is made up of two areas:
- The drawing area, which contains the visual representation of the EIP chain elements.
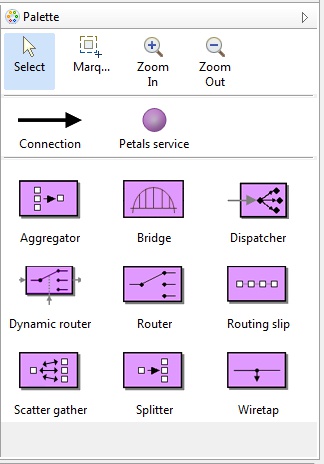
- The palette, which contains the elements that can be added on the drawing area.
On the drawing area, you can have two kinds of nodes: EIP nodes and end-point nodes.
EIP nodes define an EIP that will route a Petals message inside the bus to either another EIP or to a Petals service.
End-point nodes represent Petals services.
EIP nodes
An EIP node can be selected among the various ones supported by Petals.
A node taken on the palette can either be dragged and dropped on the diagram or simply set by selecting it in the palette and clicking it on the diagram.
Once added on the diagram, an EIP node must be edited. It is achieved through the Eclipse Properties view.
There are three different levels of properties.
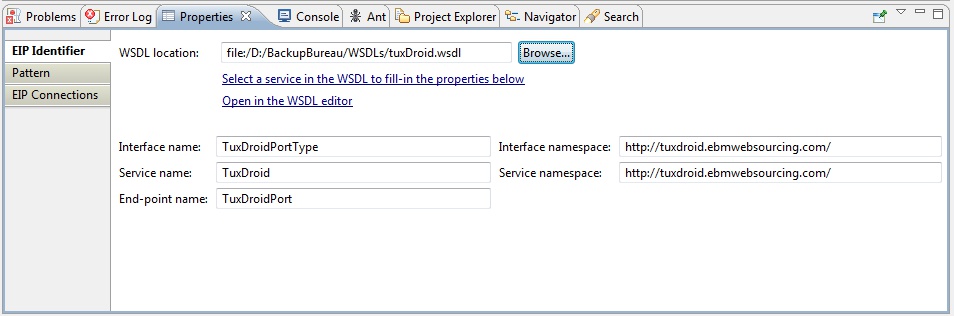
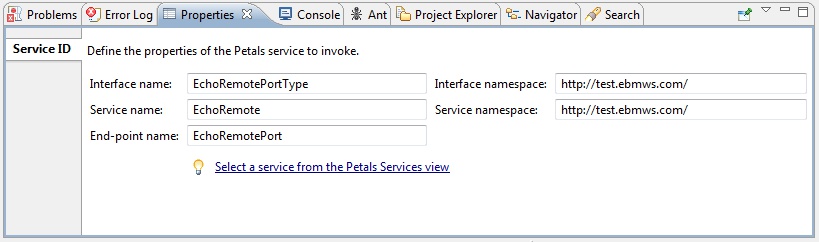
First, there are the ID properties.
Every EIP node will (unfortuantely) result in a Petals service. Therefore, it must be given an interface name, a service name and an end-point name. A WSDL can also be associated with it.
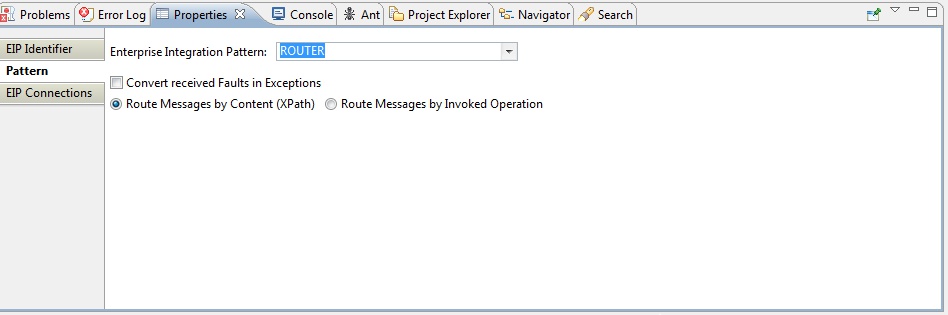
Then, there is the pattern properties and options.
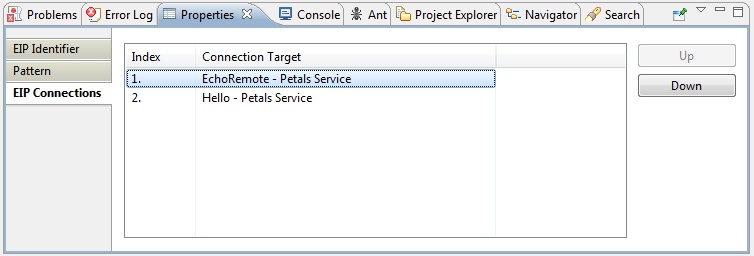
Eventually, there is the list of outgoing connections.
These connections link the EIP to the services it may invoke (other EIP or Petals services).
End-point nodes
End-point nodes represent a Petals service.
One can be created by selecting it in the palette and adding it on the diagram. Its properties then need to be set.
Or you can also drag and drag a service from the Petals Services view and drop it on the diagram.
Connections
Connections are links between nodes on the diagram.
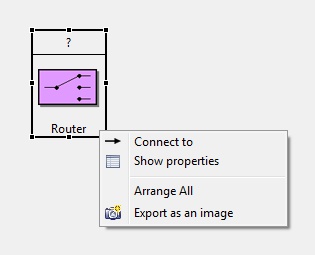
They can be created by using the dedicated palette icon or by right-clicking an EIP and selecting Connect to....
A connection always start from an EIP node and may end on an EIP node or an end-point node.
Connections also have properties to edit.
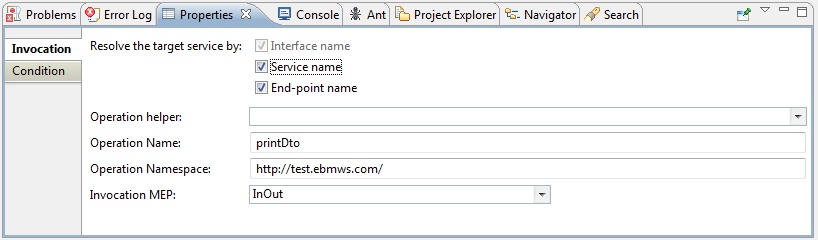
One part of the properties is about the invocation properties.
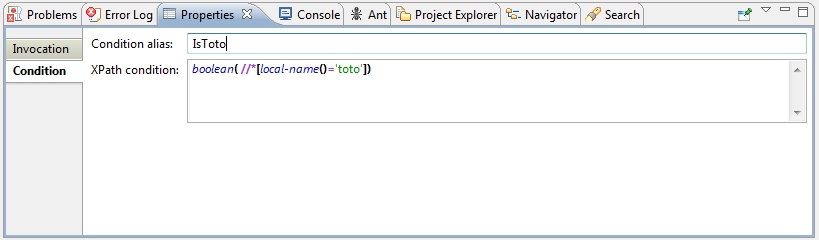
A second part of the properties is specific to the original pattern.
As an example, a router pattern has a properties tab for the condition.
Exporting an EIP chain
When an EIP chain is finished, it looks like a graph.
Validation is performed in live mode during the edition, so that you instantanetly know if there is an error or a missing property.
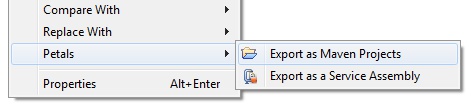
Once complete, an EIP chain can be exported as two outputs:
- As a service assembly for Petals ESB (i.e. a ZIP archive that can directly be deployed in Petals).
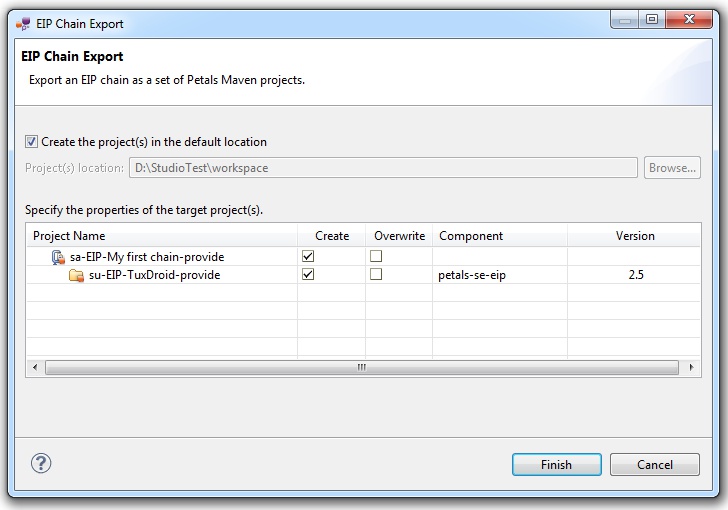
- As a set of service assembly and service unit projects (e.g. to be built with the Petals Maven plug-in).
The export can be achieved by right-clicking the project in the project explorer and selecting the appropriate menu in Petals > Export as...
In the case of a project set, a dialog will show up and ask to select what to create.